


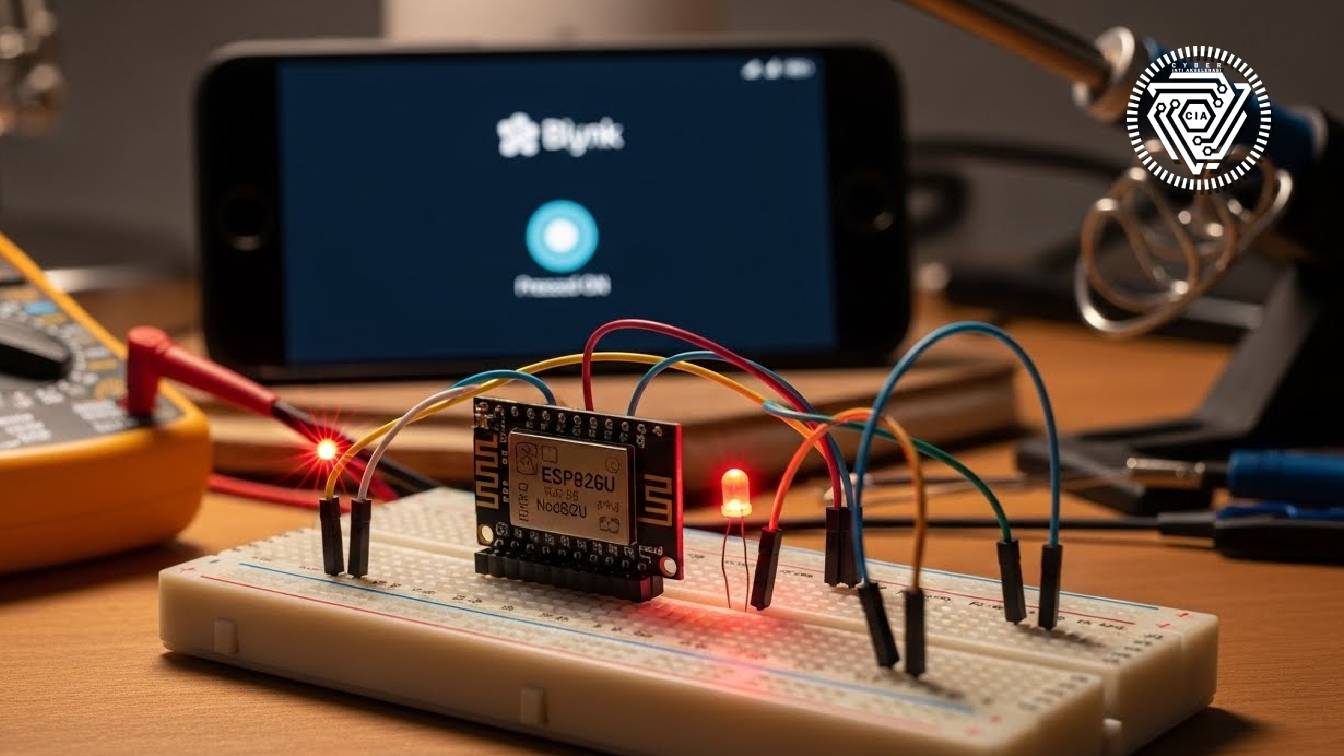
Internet of Things (IoT) looks complicated, but the basic principle is simple: connecting a microcontroller to WiFi. In this tutorial, we will create the 'Hello World' version of an IoT project: Turning on an LED via Smartphone.
Tools Needed:
- ESP8266 Module (NodeMCU)
- 1x LED & 220 Ohm Resistor
- Jumper Wires & Breadboard
- Blynk App (Legacy/New)
Coding Steps (Arduino IDE):
Install the Blynk library and upload this script to your board:
#define BLYNK_PRINT Serial
#include
#include

char auth[] = "YOUR_BLYNK_TOKEN";
char ssid[] = "WIFI_NAME";
char pass[] = "WIFI_PASSWORD";

void setup() {
  Serial.begin(9600);
  Blynk.begin(auth, ssid, pass);
}

void loop() {
  Blynk.run();
}
After successful upload, open the Blynk app, add a 'Button' on Pin D1 (or matching your LED circuit), and press play. Congratulations! You have just created your first IoT device.